In the DevOps methodology automation is likely the most important concept. Use “automate everything” as a mantra daily.

As an “operator” working in a DevOps role good tools are a necessity. Tools which allow for automating most everything is crucial to keeping up with the vast amount of changes and updates created in a Agile development environment.
Using the same tools your counterparts on the team use will allow for expediting the learning process. In a lot of cases developers use a IDE (Integrated Development Environment) of some sort. Visual Studio Code comes to the forefront, but some ‘hardcore’ or ‘old school’ developers still use Emacs or even Vim as their development tool of choice. There are many out there and each has its pros and cons. Along with a IDE there will be the need for extensions to make things simpler. Let’s outline a few and focus on Visual Studio Code as the tool of choice.
Visual Studio Code is available for most of the commonly used platforms. It has a ton of extensions, but as a “DevOps Engineer” you’ll need a few to make your life easier. First and foremost you’ll want extensions to make working with your favorite cloud provider easier. There are plugins for AWS, GKE, and AKS as well as plugins for yaml, Kubernetes, and Github.
Another extension necessary for container development is the Remote Development Extension Pack. This extension provides the Dev Containers extension allowing for the opening of files and folders inside a container. It also provides a SSH extension to simplify access to remote machines. The Dev Containers extension will want to use Docker Desktop, but a better alternative is Rancher Desktop.
Rancher Desktop is another superb tool for several reasons.
- 100% open source
- Includes K3s as the Kubernetes distribution
- Can use with dockerd (moby) or containerd
- Basic dashboard
- Easy to use
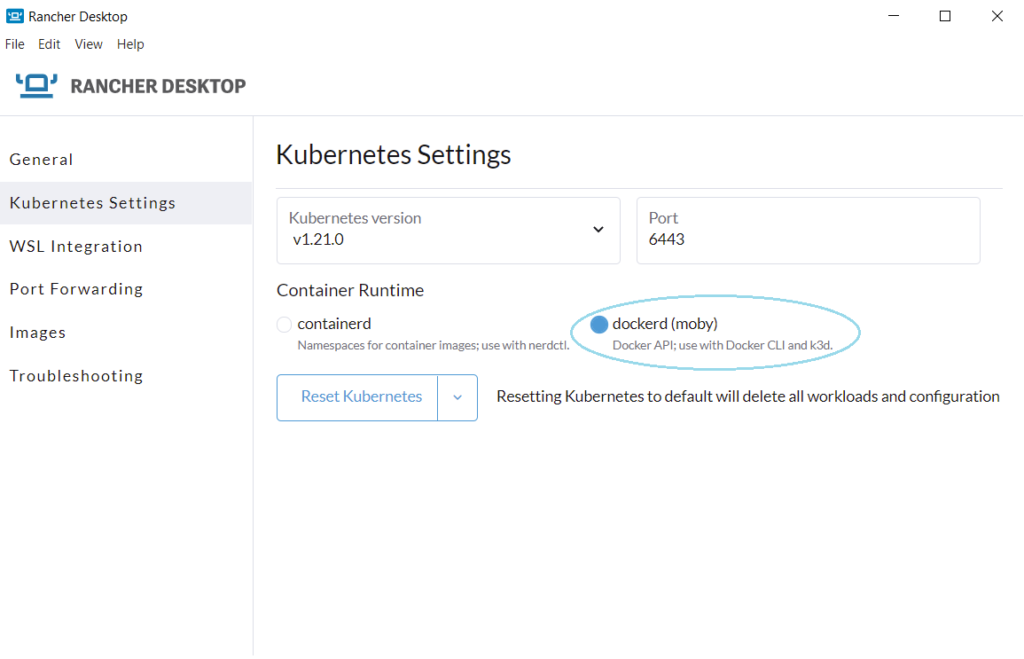
To get started with it, download Rancher Desktop and install on your favorite platform. Follow the installation instructions and once installed go to the preferences page and select “dockerd (moby)” as shown below.
Now that you have Rancher Desktop installed as well as Visual Studio Code with all of the extensions take some time to get familiar with it. Best to start with your github account and create or fork a repository to work with inside Visual Studio Code. Reading through the various getting started docs yields hours of things to try or work with to learn.
To get started with your Rancher Desktop cluster simply click on the Rancher Desktop icon. In most windowed environments there’s a icon in the “task bar”.

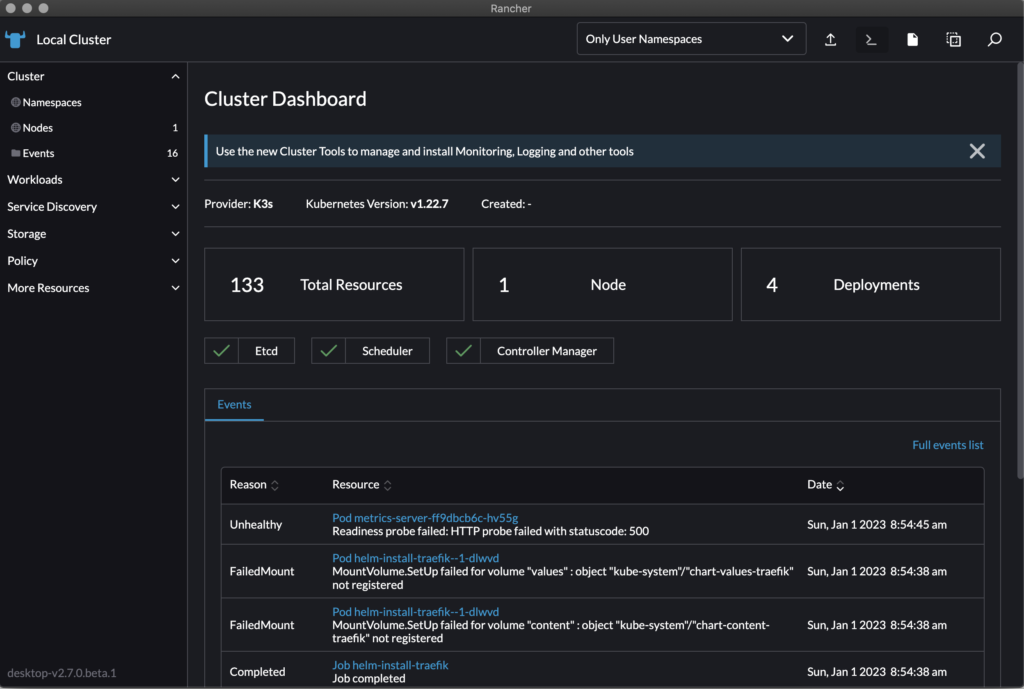
Click on the Dashboard link to get access to view the K3s cluster installed when Rancher Desktop started.
Another way to access the cluster is to use kubectl. A number of utilities were installed to ~/.rd/bin. Use kubectl get nodes to view the node(s) in your cluster or use kubectl get pods -A to view all of the pods in the cluster.
Many utilities exist to view/manage Kubernetes clusters. Great learning experiences come from experimentation.
Recommended DevOps Books
To deepen your DevOps knowledge alongside these tools, here are essential reads every DevOps practitioner should have:
- The DevOps Handbook by Gene Kim, Jez Humble, Patrick Debois & John Willis — the definitive guide to DevOps practices and principles
- The Phoenix Project by Gene Kim — a novel about IT, DevOps, and helping your business win
- Accelerate by Nicole Forsgren, Jez Humble & Gene Kim — the science of lean software and DevOps
- Kubernetes: Up and Running by Brendan Burns — essential for mastering container orchestration
- Infrastructure as Code by Kief Morris — managing servers in the cloud with automation
A lot was accomplished in this post. From a bit of reading to manipulating a Kubernetes cluster there is a lot of information to absorb. Visual Studio Code will be the foundation for a lot of the work done in the DevOps world. Containers and Kubernetes will be the foundation for the execution of the work created. This post provided the building blocks to combine the Dev and the Ops with what’s needed to automate the process.
Next up…building a simple CI/CD pipeline.