SRE
-
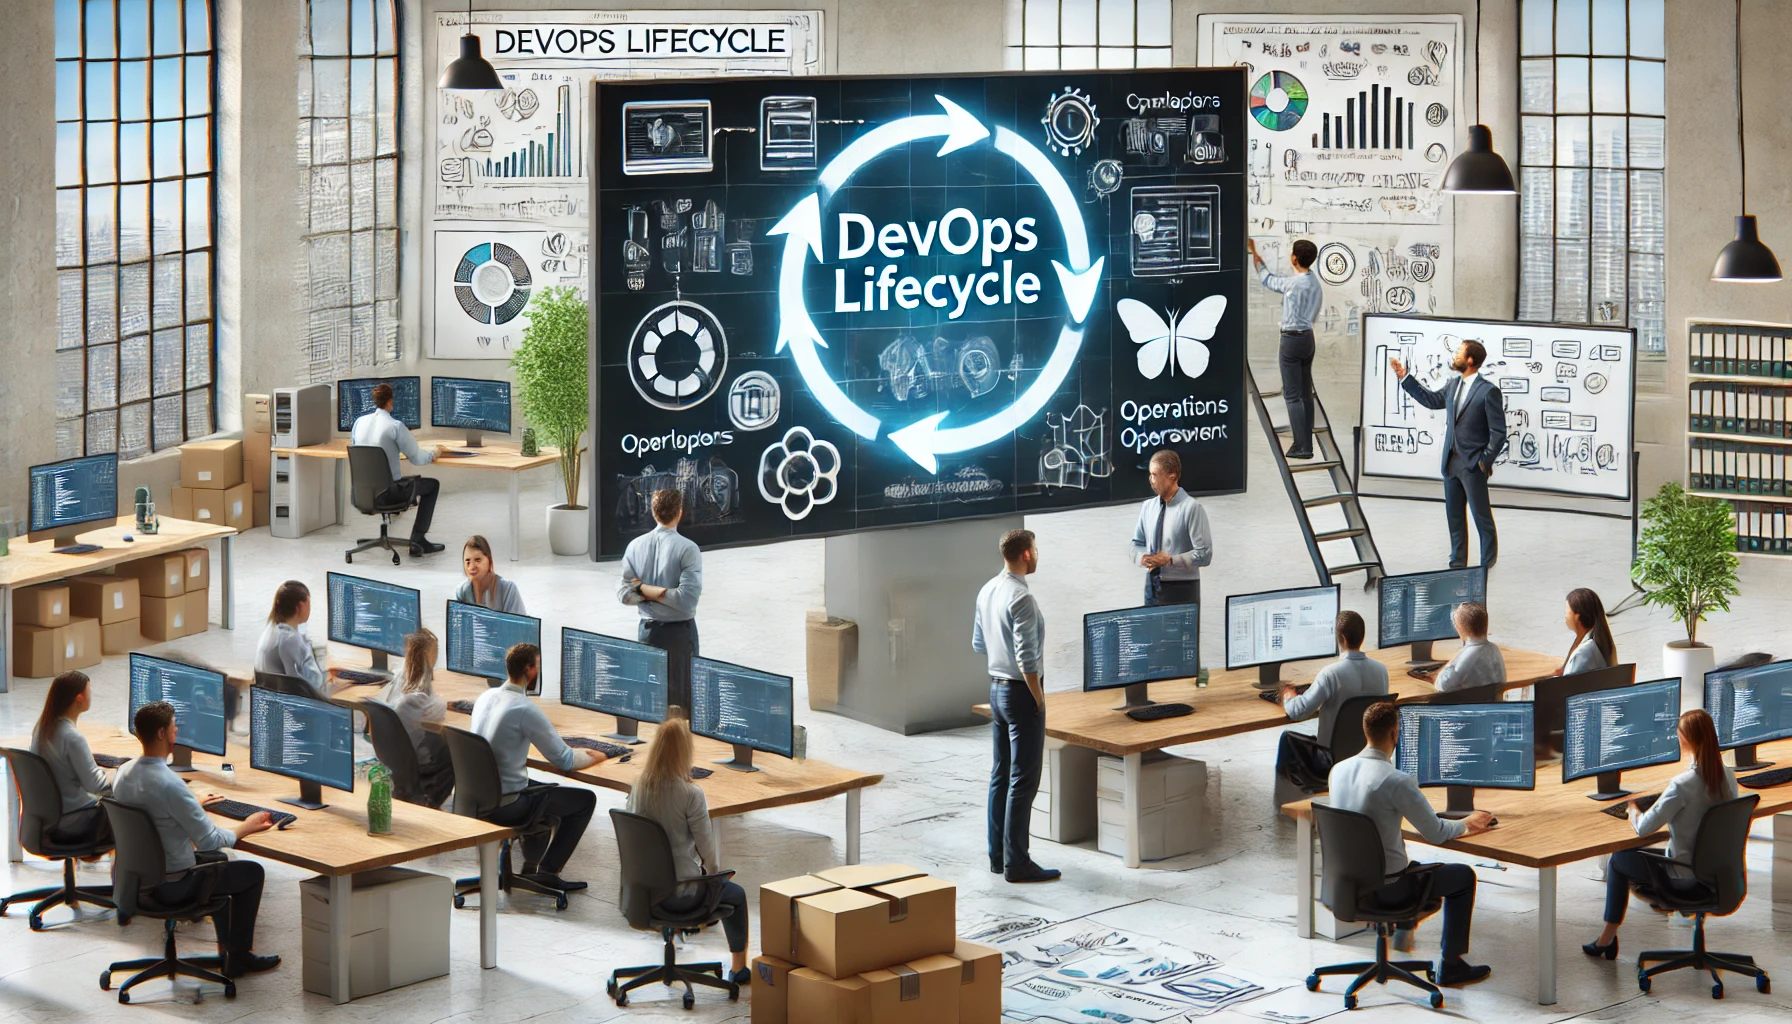
Understanding the DevOps Lifecycle
Introduction In today’s fast-paced software development environment, DevOps has become an essential methodology for delivering high-quality software swiftly. DevOps bridges the gap…
-
Declarative vs Imperative Operations in Kubernetes: A Deep Dive with Code Examples
Kubernetes, the de facto orchestrator for containerized applications, offers two distinct approaches to managing resources: declarative and imperative. Understanding the nuances between…
-
Leveraging Automation in Managing Kubernetes Clusters: The Path to Efficient Operation
Automation in managing Kubernetes clusters has burgeoned into an essential practice that enhances efficiency, security, and the seamless deployment of applications. With…
-
How to Create a Pull Request Using GitHub Through VSCode
Visual Studio Code (VSCode) has risen as a favorite among developers due to its extensibility and tight integration with many tools, including…
-
7 things all devops practitioners need from Git
Git is a powerful tool for version control, enabling multiple developers to work together on the same codebase without stepping on each…