General
-
Implementing CloudFlare Tunnel for Secure Home Lab Access: A Complete Technical Guide
Executive Summary What is CloudFlare Tunnel and why is it essential for secure home lab access? CloudFlare Tunnel (formerly Argo Tunnel) is…
-

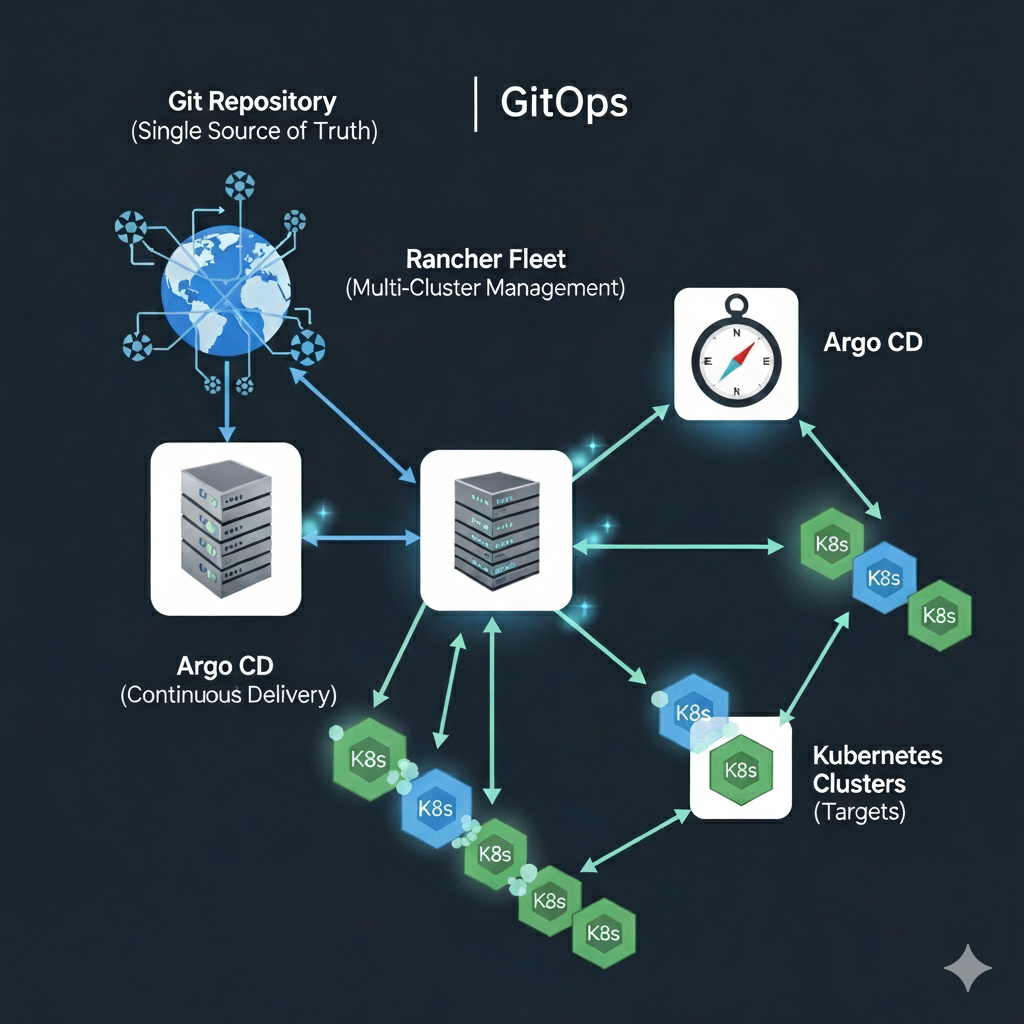
How do I: Manage Infrastructure at Scale with Rancher Fleet
Part 3: Scaling GitOps with Rancher Fleet – Managing Infrastructure at Scale Recap of Part 1 In the second part of this…
-
How do I: Build a GitOps Pipeline in Argo
Part 2: Building a GitOps Pipeline with Rancher Fleet and Argo – From Code to Deployment Recap of Part 1 In the…
-
How to Create a Pull Request Using GitHub Through VSCode
Visual Studio Code (VSCode) has risen as a favorite among developers due to its extensibility and tight integration with many tools, including…
-
7 things all devops practitioners need from Git
Git is a powerful tool for version control, enabling multiple developers to work together on the same codebase without stepping on each…
Search
Latest Posts
Latest Comments
No comments to show.